
How To Change Printable Area In Excel
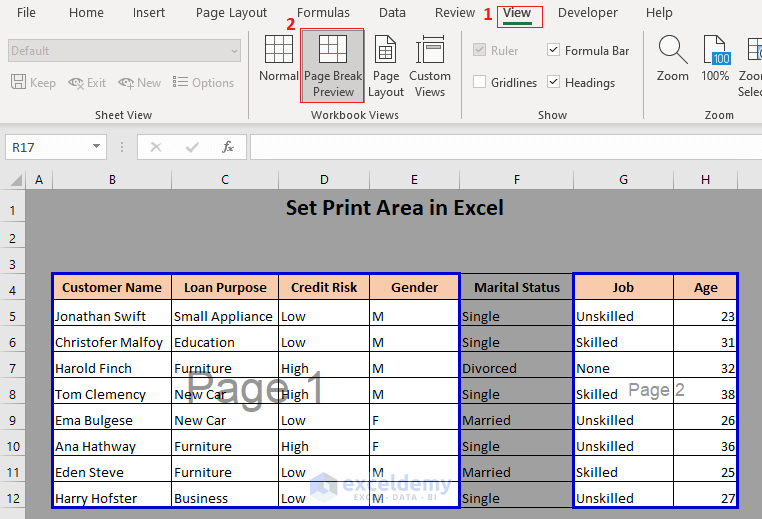
How To Change Printable Area In Excel - Web on the worksheet, select the cells that you want to define as the print area. To see what cells you have selected to print, go to file > print preview. Select cells to add > page layout > page setup > print area > add to print area. And the moment you click on the option, it will set that selected range as the print area. Choose set print area. to set multiple print areas in your sheet, hold ctrl as you select each group of cells.
For this, follow the following sequence of commands. It also gives you a possibility to customize and optimize tables to the size and orientation of paper sheets. Web to set print area, we need to click on page layout → print area in page setup group. Now, press alt + p + r + s to create the print area. Select cells to add > page layout > page setup > print area > add to print area. Highlight a cell range you want to print exclusively on the paper sheet. If you modify this named range to use a dynamic range then it will print your entire pivot table.

How to Change Print Area in Excel (5 Methods) ExcelDemy
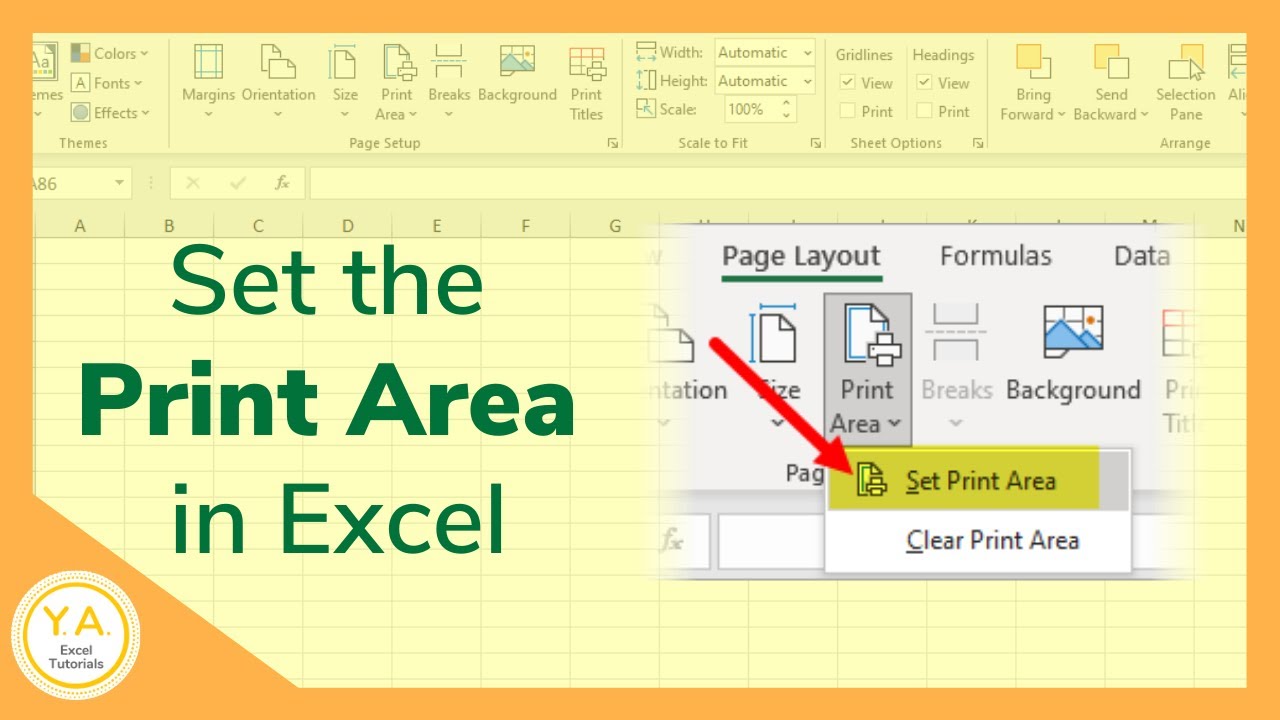
Thirdly, choose the set print area option from the print area option. Web to set the print area, you select the area and hit the set print area command; Web in short, you have to navigate to “ page layout ” > “ page setup ” > “ print area ” > “ set print.

How to Change Print Area in Excel (7 Smart Ways) ExcelDemy
To set multiple print areas, hold down the ctrl key and click the areas you want to print. Frequently asked questions (faqs) download template. And the moment you click on the option, it will set that selected range as the print area. Click on the ‘page layout’ tab. Web in short, you have to navigate.

How to Change Print Area in Excel (5 Methods) ExcelDemy
Web in short, you have to navigate to “ page layout ” > “ page setup ” > “ print area ” > “ set print area.” in this article, i’ll show you how to set the print area for microsoft excel. Select cells that you want to add. If you have a large excel.

A StepbyStep Guide on How to Change Print Area in Excel Earn & Excel
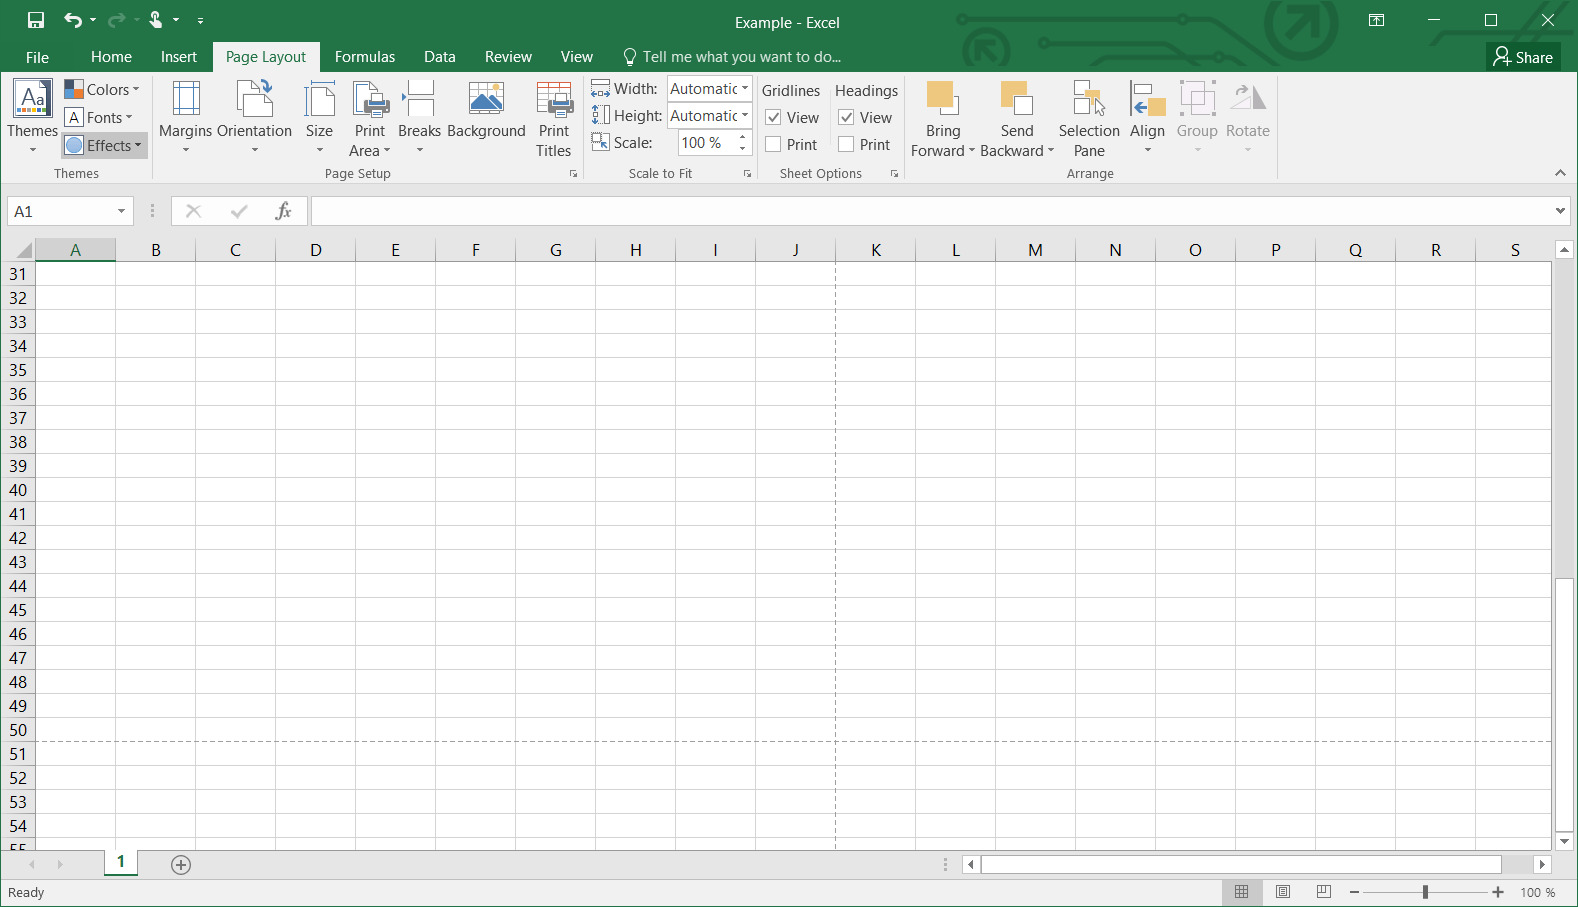
On the page layout tab, in the page setup group, click print area > set print area. Web to set print area, we need to click on page layout → print area in page setup group. A faint gray line will appear denoting the print area. Web click set print area from the options. Select.
How to set the print area in Excel IONOS
Highlight the area you want to print. On the page layout tab, in the page setup group, click print area > set print area. Only adjacent cells can be added to an existing print area. On the top ribbon in excel, you’ll see the ‘page layout’ button. Highlight the area you want to set as.
Print Area in Excel Tutorial YouTube
Click on the print area dropdown at the top of the screen. Use set print area command to change print area in excel. When you press ctrl + p on your keyboard, you’ll get a print preview 👀. Web to set the print area, you select the area and hit the set print area command;.

How to Change Print Area in Excel (5 Methods) ExcelDemy
Select your desired print area —> page layout tab —> print area —> set print area. You will know the print area is set when you see the gray lines outlining your selection. Web fastest way to set print area in excel. To see what cells you have selected to print, go to file >.

How to Change Print Area in Excel (5 Methods) ExcelDemy
Web click set print area from the options. Here we have the steps: You will know the print area is set when you see the gray lines outlining your selection. You’ve already defined or set a print area in your sheet 😀. Highlight the area you want to set as the printable area. Web select.

How to Change Print Area in Excel (5 Methods) ExcelDemy
It also gives you a possibility to customize and optimize tables to the size and orientation of paper sheets. Highlight the area you want to print. The dialog will have a named range called print_area. Select cells to add > page layout > page setup > print area > add to print area. Web first,.
How to Set Print Area in Excel (5 Methods) ExcelDemy
Excel tutorials by easyclick academy. A faint gray line will appear denoting the print area. Then, the page setup dialog box will open on the window. Web click set print area from the options. Hold ctrl while selecting areas > page layout > page setup > print area > select set print area. Select set.
How To Change Printable Area In Excel Afterward, go to the “page layout” tab and click the “print area” icon. On the page layout tab, in the page setup group, click print area > set print area. To move to the top of the sheet, press “ctrl” and then. Web to set print area, we need to click on page layout → print area in page setup group. Then, the page setup dialog box will open on the window.
Make Sure You Include All The Relevant Cells And Columns That You Want In The Printout.
Highlight the area you want to print. After that, go to print layout > print area and select set print area. Frequently asked questions (faqs) download template. Once you have opened the correct spreadsheet, find the area that you would like to print.
Each Print Area Prints On Its Own Page.
On the top ribbon in excel, you’ll see the ‘page layout’ button. More informative way to define print area in excel Web set print area: Select cells that you want to add.
Fourthly, Go To The Print Titles Option On The Side Of The Print Area Option.
Afterward, go to the “page layout” tab and click the “print area” icon. Select cells > go to page layout tab > page setup > print area > select set print area. Hold ctrl while selecting areas > page layout > page setup > print area > select set print area. The option print area in excel enables us to define sections in the worksheet that we wish to print instead of the whole worksheet.
Web To Set The Print Area In Excel 2013, Simply Select The Cells You Want To Print, Go To The Page Layout Tab, Click On Print Area, And Choose Set Print Area.
You will know the print area is set when you see the gray lines outlining your selection. Select your desired print area —> page layout tab —> print area —> set print area. The quickest way to set a constant print range is this: Now, press alt + p + r + s to create the print area.