
Clover Drawing Realistic
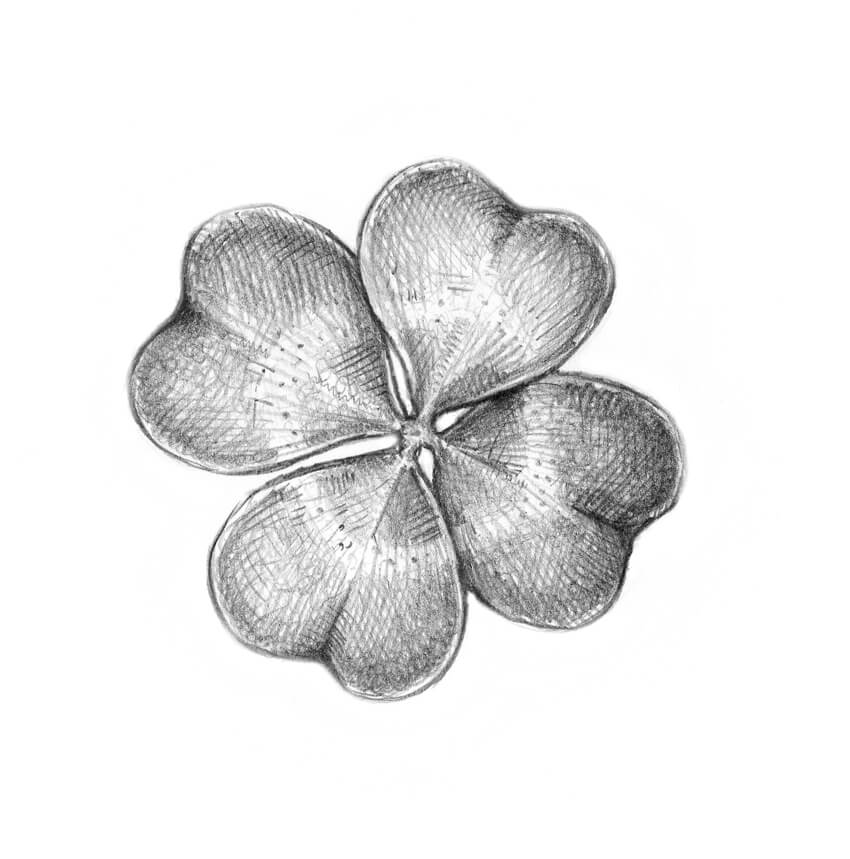
Clover Drawing Realistic - In this blog post, we’ll show you how to add veins and details to your 4 leaf clover drawings. Web how to draw a clover step 1: Once you’re done drawing, trace over the lines in a consistent direction. We begin constructing the leaves of your clover drawing. Add four curved spine lines as shown.
Web the three leaf clover is a classic symbol of good luck, and it’s also a fun one to draw! And the same on the next spine. Draw highlight spots with a. For a more realistic look, vary the thickness of the lines to make the clover look fuller. Erasing and refining take a moment to analyze your drawing and make any necessary adjustments. Start by drawing a stem. Draw a circle that will serve as your clover base and draw a line to show the direction of the stalk.

How to Draw a Clover 11 Steps (with Pictures) wikiHow
Web draw your four leaf clover step by step. For a more realistic look, vary the thickness of the lines to make the clover look fuller. This is your first cloverleaf. Draw a small circle near the top of your paper. Set the object limits on the sheet of paper. Web 191 views 8 months.

Pin auf aquarell
Set the object limits on the sheet of paper. Web this will help you to create a more refined look for your clover. Web 0:00 / 1:04 how to draw a clover | clover easy draw tutorial drawingeek 458k subscribers subscribe subscribed share 25k views 6 years ago learn how to draw a clover for.

How to Draw a Four Leaf Clover Four leaf clover drawing, Clover leaf
Now that you know the basics of drawing a clover, let’s get started. Next, draw a curved line coming off of the circle. Following the basic steps in this tutorial will help you to gain the very best end result along with that perfect symmetry! This will be the first leaf. Draw another curved line.
Clover Drawing at Explore collection of Clover Drawing
The leaves should be pointing up and the stem should be pointing down. In this blog post, we’ll show you how to add veins and details to your 4 leaf clover drawings. Following the basic steps in this tutorial will help you to gain the very best end result along with that perfect symmetry! Web.

How to Draw a Clover 11 Steps (with Pictures) wikiHow
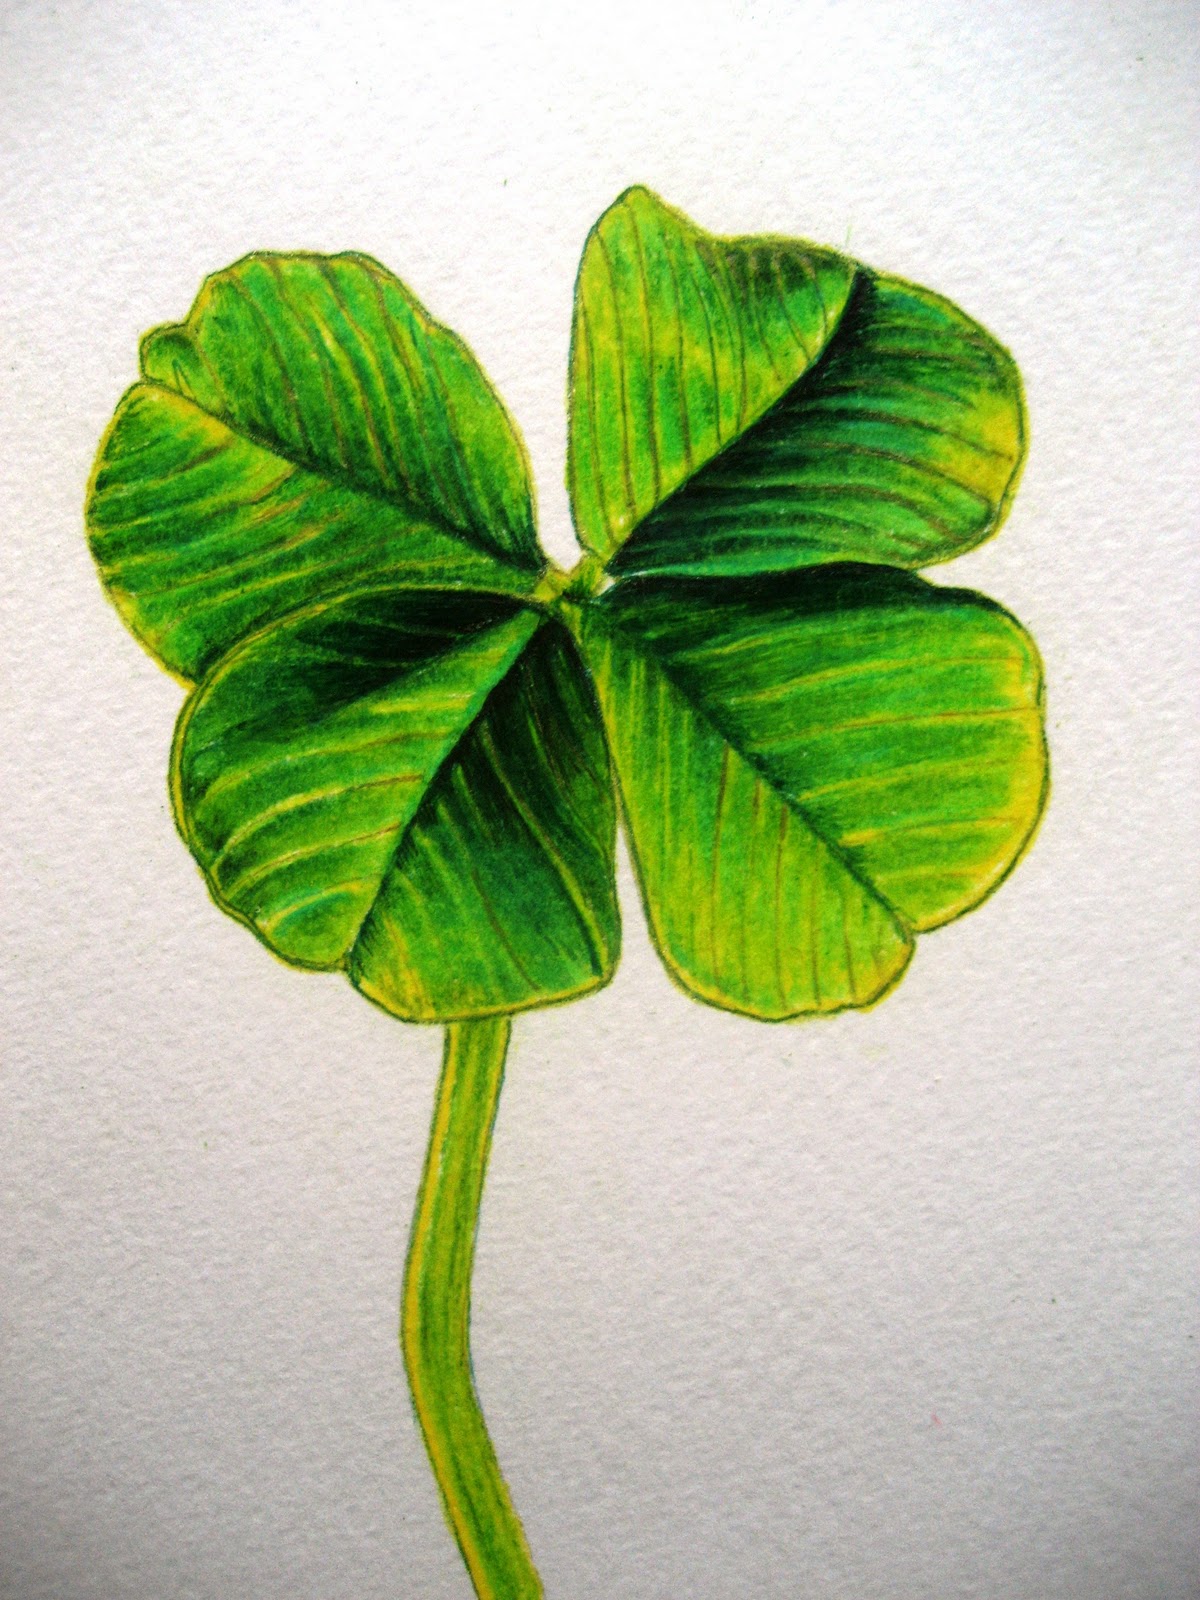
These lines represent the vein patterns on the leaves. Start by drawing a stem. Draw a stem to begin drawing a clover, start by drawing a stem. Draw a circle that will serve as your clover base and draw a line to show the direction of the stalk. Taking your time and going slow will.

FourLeaf Clover Drawing Tutorial How to Draw a Lucky Clover Improve
Start by drawing a straight vertical line in the center of your paper. Now that you know the basics of drawing a clover, let’s get started. This is your first cloverleaf. Draw another curved line coming off of the circle, next to the first leaf. Web this will help you to create a more refined.
How to Draw Worksheets for The Young Artist How to Draw a Four Leaf
Using straight lines, intersecting at the straight angle, show the clove leaf. Web draw your four leaf clover step by step. Now that you know the basics of drawing a clover, let’s get started. When drawing a 4 leaf clover, it’s always a good idea to use a ruler. Web how to draw a clover.

Realistic Fourleaf Clover Illustration, Vector Design Stock Vector
Set the object limits on the sheet of paper. Do the same on the next spine. Web step by step directions for a clover drawing draw a simple stem. We’ll start with a simple outline of the clover, then add some final details to give it a realistic look. Color the leaves unevenly and use.

FourLeaf Clover Drawing How To Draw A FourLeaf Clover Step By Step
Do the same on the next spine. This will be the clover’s stem. Draw a vertical line slightly curved or straight, depending on your preference. Web to make your clover more realistic, you can add some details. Following the basic steps in this tutorial will help you to gain the very best end result along.
Four Leaf Clover Drawing at GetDrawings Free download
Start by drawing a stem. However, it may be best for the. Web the clover should be placed in the center of the paper. Draw a small, curved line extending from the tip of each leaf, towards the center of the clover. Web this will help you to create a more refined look for your.
Clover Drawing Realistic Next, draw a curved line coming off of the circle. And the same on the next spine. Web step by step directions for a clover drawing draw a simple stem. Draw a stem to begin drawing a clover, start by drawing a stem. This will help you keep your lines even and precise.
Add Four Curved Spine Lines As Shown.
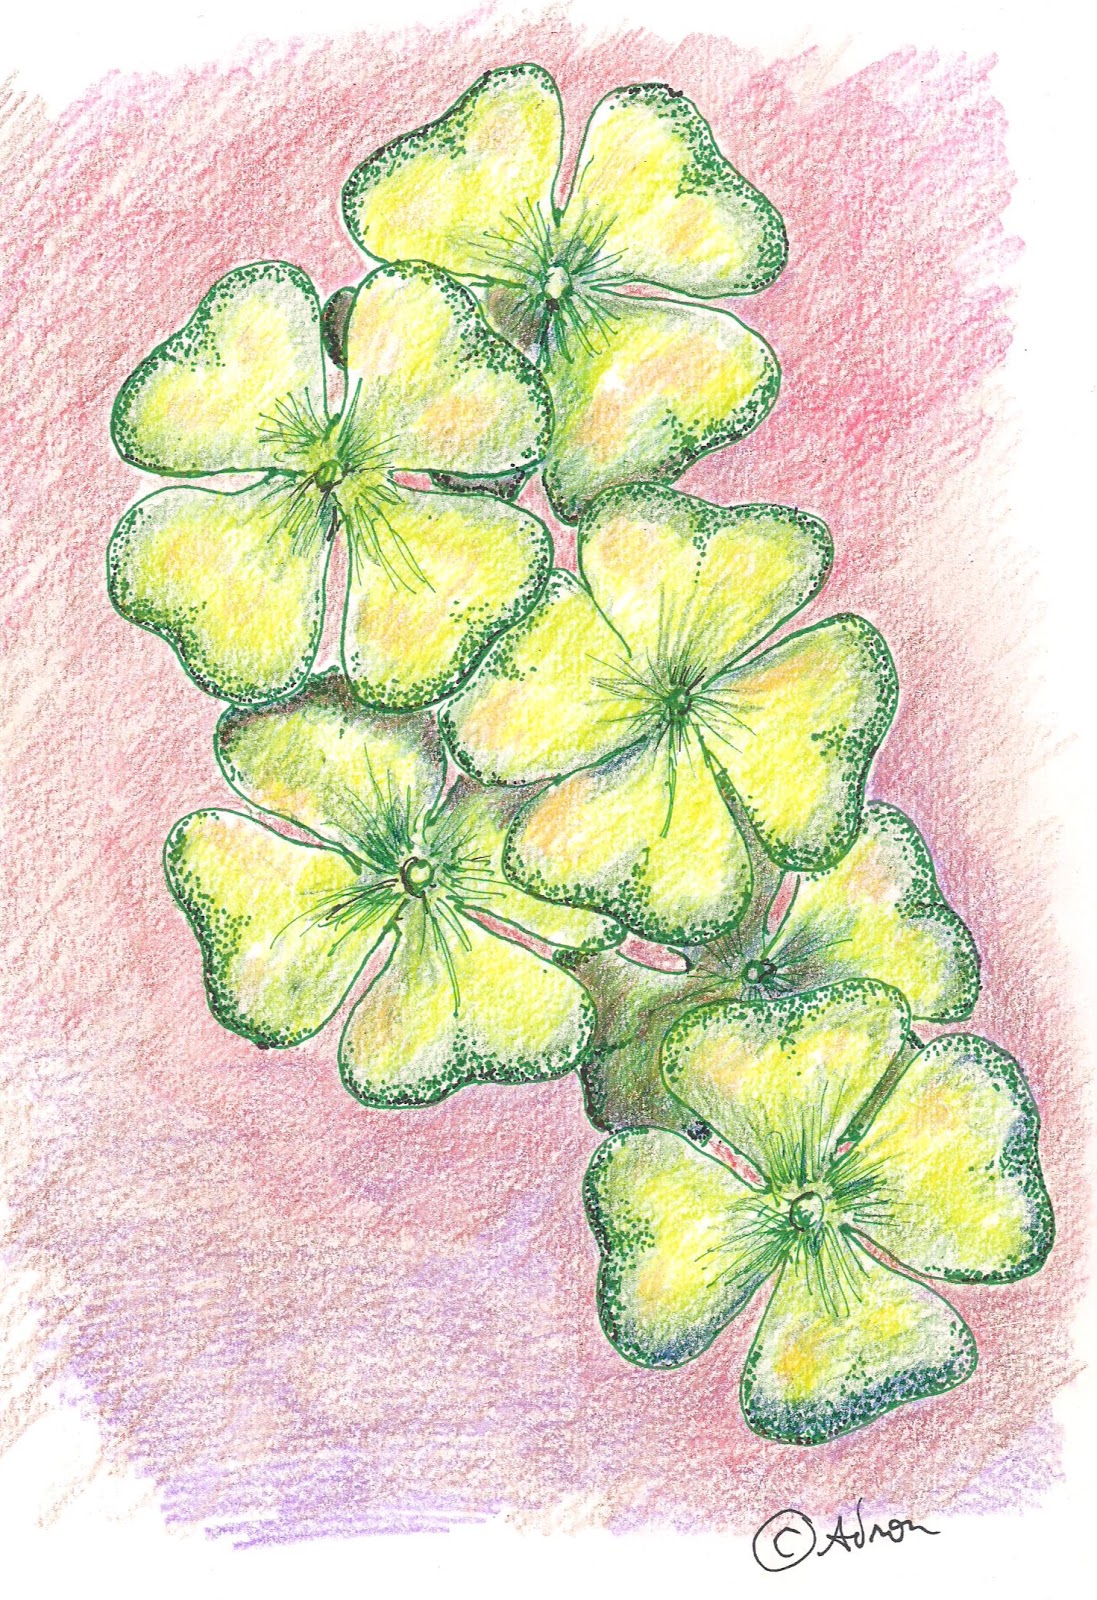
Color the leaves unevenly and use different shades of green, because in real life there are highlights and dark areas on the leaves. Each leaf is shaped like a. Next, draw a curved line coming off of the circle. First, let’s start with the veins.
And The Same On The Next Spine.
This drawing can be completed using various materials and tools. These lines represent the vein patterns on the leaves. Start by drawing a straight vertical line in the center of your paper. Web this will help you to create a more refined look for your clover.
Draw Highlight Spots With A.
When drawing a 4 leaf clover, it’s always a good idea to use a ruler. Draw a circle that will serve as your clover base and draw a line to show the direction of the stalk. Draw a small, curved line extending from the tip of each leaf, towards the center of the clover. Start by drawing a stem.
Repeat This For All Four Leaves.
To add veins to your clover, start by drawing a light outline of the clover. Draw the first leaf next, it’s time to draw the first leaf of your clover. However, it may be best for the. Do the same on the next spine.